As the stars appear and daylight fades, a hidden world of wildlife awakens. Nocturnal animals—from owls and hedgehogs to elusive big cats—offer a unique challenge for photographers seeking to capture their mystery. The growing popularity of nocturnal wildlife photography reflects both the allure of these creatures and the technical advancements that make such shoots possible. However, success hinges on more than just equipment; understanding their behavior, respecting their habitats, and mastering low-light techniques are essential for crafting compelling images.
Essential Equipment for Nocturnal Wildlife Photography
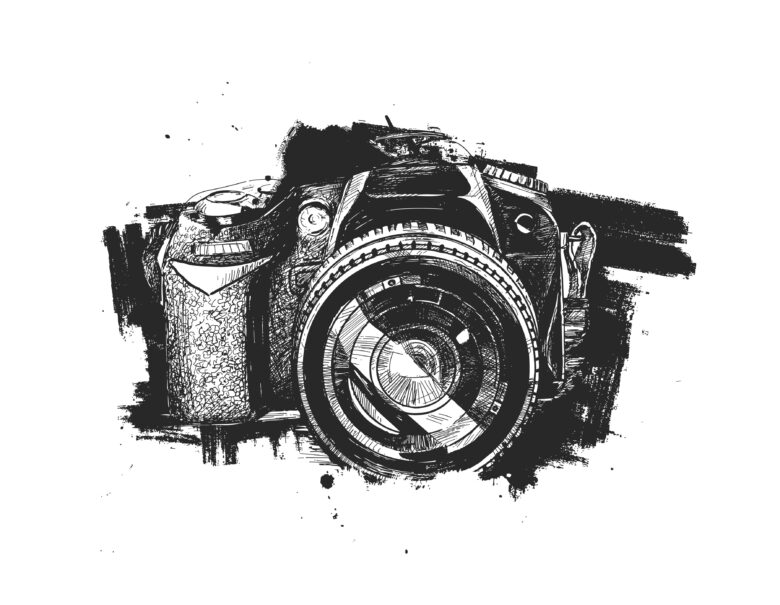
Photographing animals in darkness demands gear that compensates for limited light while maintaining clarity. Unlike daytime photography, night shoots require specialized tools to detect subjects, stabilize shots, and illuminate scenes without causing disturbance.
Camera and Lenses
A full-frame DSLR or mirrorless camera is ideal for nocturnal photography due to superior ISO performance and larger sensors that capture more light. Pair your camera with fast lenses (f/2.8 or wider) like a 24-70mm f/2.8 or 50mm f/1.4. These lenses allow maximum light intake, critical for sharp images in dim conditions. For instance, the Sony A7S III and Canon EOS R5 excel in low-light scenarios, producing minimal noise even at ISO 6400.
Stabilization Tools
Slow shutter speeds amplify camera shake, making stability non-negotiable. A sturdy tripod paired with a gimbal head ensures smooth adjustments when tracking movement. Imagine photographing a hedgehog foraging at dusk: a tripod allows you to use a wide-angle lens at 1/30sec without blur, preserving intricate details like the texture of its spines.
Lighting and Detection Devices
Off-camera flashguns or fill flash can softly illuminate subjects without overexposure. For non-intrusive lighting, infrared (IR) modifiers or thermal imagers help spot animals via heat signatures. Camera traps, triggered by motion sensors, are invaluable for capturing shy species like raccoons or foxes. For example, an IR-modified camera can discreetly photograph an owl mid-hunt, preserving the natural ambiance of the scene.
How Can You Locate Nocturnal Animals Effectively?
Finding your subjects is half the battle. Many nocturnal species rely on stealth, blending seamlessly into their environments. Strategic tools and patience are key to spotting them.
Spotlighting—using a focused beam to detect eye reflections—works well for species like deer or spiders. Pair this with thermal imaging to identify heat patterns in dense foliage. A thermal scope can reveal a curled-up porcupine in a tree hollow that’s invisible to the naked eye. Always use dimmable lights to avoid startling animals, and scan areas methodically rather than randomly.
Mastering Camera Settings for Low-Light Conditions
Balancing exposure in darkness requires a delicate interplay between ISO, aperture, and shutter speed. Start with an aperture of f/2.8 to gather light, then set a shutter speed between 1/60sec and 1/125sec to freeze subtle movements. While high ISO settings (3200–6400) are often necessary, modern cameras mitigate noise effectively. For instance, photographing a bat in flight might demand ISO 5000, f/4, and 1/250sec—resulting in a crisp subject against a softly blurred backdrop.
What Lighting Techniques Enhance Nighttime Shots?
Lighting can make or break nocturnal images. Continuous LED panels provide steady illumination for video, while infrared photography captures monochromatic scenes without disturbing wildlife. A fill flash, diffused through a softbox, can highlight a frog’s dewy skin without washing out the background. For passive observation, pair motion-activated cameras with IR lights to document behaviors like a fox caching food.
Ethical Considerations: Respecting Noctural Wildlife
Ethics are paramount. Bright flashes can disorient animals, so use IR or red filters to minimize impact. Research local guidelines; some parks prohibit artificial lighting near dens or nests. Understanding behavior—like knowing when a kangaroo rat is foraging versus resting—ensures your presence doesn’t disrupt natural patterns. As photographers, we’re visitors in their world.
Post-Processing Tips for Polishing Nocturnal Shots
Editing rectifies common issues like eye-shine caused by flash. In Photoshop, use the clone stamp or healing brush at 50% opacity to soften reflections while retaining realism. Boost contrast subtly to enhance textures—a barn owl’s feathers, for example—and reduce noise with tools like Topaz DeNoise AI. Avoid over-saturating colors; aim for a natural, muted palette that mirrors the night.
Addressing Overlooked Challenges in Night Photography
Infrared filters vary widely. A 720nm filter creates stark contrasts, ideal for artistic shots, while an 850nm filter captures deeper IR wavelengths, perfect for scientific documentation. Legally, research permits may be needed for protected areas or endangered species. In Yellowstone, for instance, using drones near nocturnal wolves is strictly regulated to prevent stress.
Conclusion
Nocturnal wildlife photography merges technical skill with respect for nature. By investing in the right gear, honing low-light techniques, and prioritizing ethics, you can reveal the hidden drama of the night. Ready to embark? Start in your backyard—set up a camera trap or practice spotlighting on local wildlife. Share your findings with conservation groups to contribute to science while refining your craft. The night is alive; all it takes is patience and passion to capture its secrets.